Build Your Own Pallet Shed: A Quick & Easy Guide
Tired of overflowing garages and cluttered yards? Dreaming of a simple, inexpensive storage solution? Then look no further! This guide provides step-by-step instructions for building a charming and functional shed using reclaimed wood pallets. This project requires minimal tools and expertise, making it perfect for weekend warriors or DIY enthusiasts on a budget. Get ready to transform your outdoor space with a personalized pallet shed you'll be proud of!
Gathering Your Materials: What You'll Need
Before you begin hammering, ensure you have all the necessary materials. This project relies heavily on reclaimed wood pallets, so start your search! Look for pallets in good condition â€" sturdy, free of rot or significant damage. Aim for pallets of consistent size for easier construction. Beyond the pallets, you'll need:
- At least 6-8 sturdy wood pallets: The exact number will depend on the desired size of your shed.
- Heavy-duty screws: Choose exterior-grade screws to withstand the elements.
- Drill with various drill bits: You'll need bits for both pilot holes and driving the screws.
- Hammer: For occasional nail removal or adjustments.
- Measuring tape and pencil: Essential for accurate measurements and marking.
- Level: Ensuring the shed's foundation is level is crucial for stability.
- Safety glasses and work gloves: Protect your eyes and hands throughout the process.
- Optional: Exterior-grade paint or stain to protect the wood and add a personal touch; roofing material (tar paper and shingles or a similar option); hinges and a latch for the door.
Building the Foundation: A Stable Start
A level foundation is critical for your shed's longevity and structural integrity. Begin by clearing a level area in your yard. Consider using a gravel base for better drainage and stability. Lay down some landscape fabric to prevent weeds from growing up through the base. Once you have a level and prepared base, you can start assembling the floor of your pallet shed. Lay the pallets out in a grid pattern, ensuring they are flush with each other. Securely fasten the pallets together using screws, ensuring your foundation is solid and level.
Securing the Floor: Solid and Stable
Use at least two screws per pallet connection, strategically placing them to maximize strength. Check for levelness as you go, making adjustments as needed. A sturdy floor is the bedrock of your entire shed structure, so take your time with this step.
Constructing the Walls and Roof: Adding Height and Protection
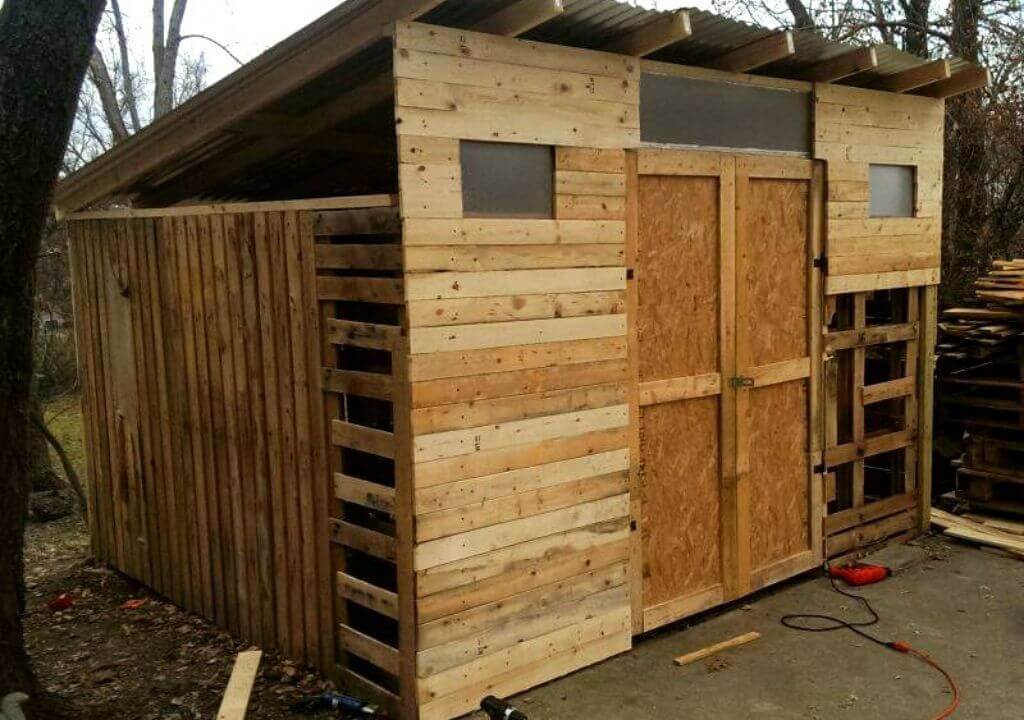
Once the floor is complete, begin constructing the walls. Carefully stack the remaining pallets vertically, securing them to the floor and to each other with heavy-duty screws. You'll want to decide on the height of your shed before you start. Remember to leave space for a door. For the roof, you have a couple of options. You can either create a simple gabled roof using additional pallets, or, for a simpler option, construct a flat roof using plywood sheets covered with appropriate roofing material. This will provide basic weather protection.
Creating the Door: Access with Ease
Consider how you want to design the door. You might use a single pallet for a small door or combine several for a larger opening. Remember to account for the hinges and latch when making your cuts and planning the construction. Make sure the door is securely attached and easy to open and close.
Finishing Touches and Maintenance: Long-Term Care
Congratulations! Your pallet shed is nearly complete. Now is the time for those finishing touches. Consider adding a layer of exterior-grade paint or stain to protect the wood from the elements and enhance its appearance. This will extend the life of your shed and give it a personalized touch. Regular maintenance, such as cleaning and checking for loose screws, will help keep your pallet shed in top condition for years to come. Don’t forget to add your personal touches - a shelf, hooks for tools, or some plants to personalize the space.
Building a pallet shed is a rewarding and economical project that allows you to create a functional and aesthetically pleasing storage solution. Enjoy your newly constructed shed and the extra space it provides!


